
—
Introduction – Why a Tiny Device Can Be a Lifesaver
Imagine you’re fast asleep, the house is quiet, and a fire ignites in the kitchen. Within seconds, smoke begins to fill the hallway, and the only thing standing between you and disaster is a small, unassuming device on the ceiling. That device is a smoke detector—the unsung hero of home safety that gives you the precious early warning you need to escape unharmed.
According to the National Fire Protection Association (NFPA), homes with working smoke detectors experience 50 % fewer fire‑related deaths. Yet, nearly one‑third of households in the United States still lack a functional alarm, and many that do have alarms fail to work because of dead batteries, improper placement, or outdated technology.
If you’ve ever wondered what type of smoke detector is right for you, how to install it yourself, or how to keep it in peak condition, you’re in the right place. This 2,000‑word guide walks you through everything you need to know—packed with actionable steps, expert tips, and SEO‑friendly keywords that will help you find the information you need quickly.
—
1. Understanding Smoke Detector Types – Which One Fits Your Home?
1.1 Ionization vs. Photoelectric: The Science Behind the Sensors
| Feature | Ionization Smoke Detector | Photoelectric Smoke Detector |
|———|—————————|——————————|
| How it works | Uses a tiny amount of radioactive material to ionize air; smoke disrupts the ion flow, triggering the alarm. | Contains a light source and a sensor; smoke scatters the light onto the sensor, causing the alarm to sound. |
| Best for | Fast‑flaming fires that produce small combustion particles (think paper or grease fires). | Smoldering, slow‑burning fires that generate larger smoke particles (e.g., upholstery or bedding). |
| False alarm tendency | More prone to nuisance alarms from cooking fumes or steam. | Fewer false alarms in kitchens and bathrooms. |
Bottom line: The safest choice for most homes is a dual‑sensor (combination) smoke detector that incorporates both ionization and photoelectric technology, giving you comprehensive coverage for any fire type.
1.2 Hardwired vs. Battery‑Powered vs. Battery‑Backed
| Type | Power Source | Pros | Cons |
|——|————–|——|——|
| Hardwired (with battery backup) | Connected to home’s electrical system + 9‑V battery | Continuous power, no need to replace batteries often, can be interconnected. | Requires professional installation, may need a dedicated circuit. |
| Battery‑Powered (stand‑alone) | 9‑V or AA/AAA batteries | Easy DIY installation, ideal for rentals or older homes without wiring. | Batteries need regular replacement (every 6‑12 months). |
| Battery‑Backed (plug‑in) | AC outlet + battery backup | Simple plug‑in, still works during power outages. | Limited placement (must be near an outlet). |
Actionable tip: If you’re renovating or building a new home, opt for hardwired, interconnected smoke detectors. For renters or quick upgrades, a battery‑powered dual‑sensor model works perfectly.
1.3 Smart Smoke Detectors – The Future of Home Safety
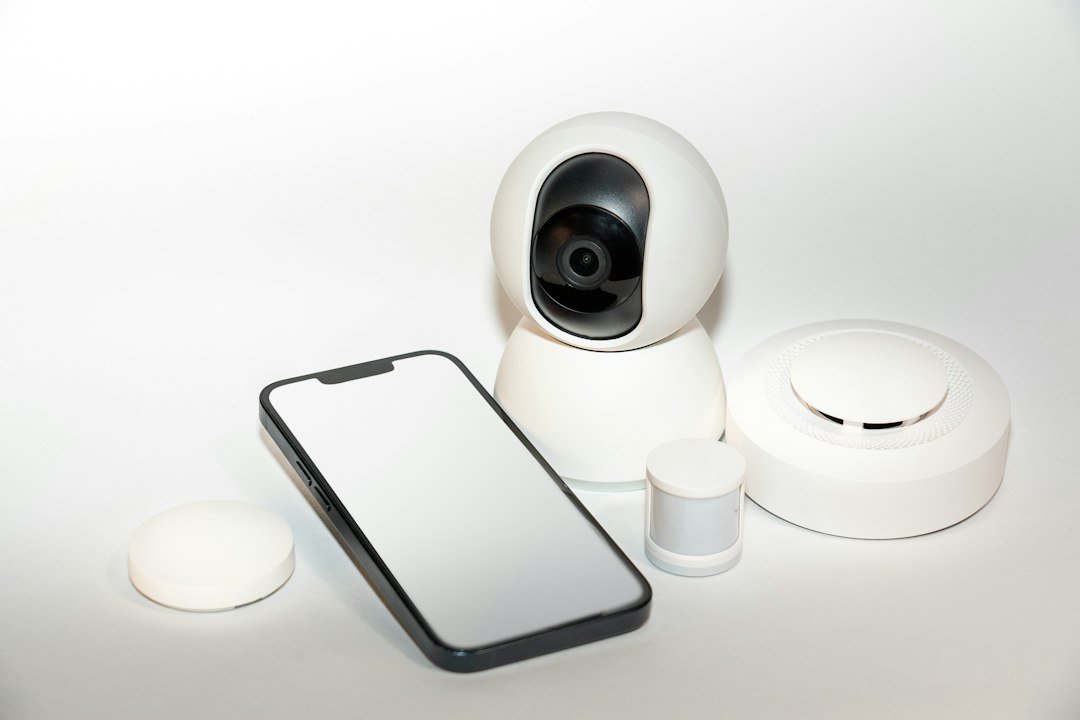
Smart smoke detectors (e.g., Nest Protect, First Alert Onelink) connect to Wi‑Fi and can:
- Send real‑time alerts to your phone.
- Provide voice alerts that differentiate between smoke and carbon monoxide.
- Run self‑tests and notify you when batteries need replacing.
- Integrate with other smart home devices (lights, locks, security systems).
- Ceiling‑mounted detectors should be installed 4‑12 inches away from the nearest wall.
- Wall‑mounted detectors must be placed 4‑12 inches below the ceiling.
- Keep detectors at least 10 feet away from cooking appliances to reduce false alarms.
- Avoid installing them near drafts, vents, or windows where airflow can disperse smoke before it reaches the sensor.
- Kitchens: Install a photoelectric detector at least 10 feet from the stove. If you must place one closer, use a heat detector instead to avoid constant nuisance alarms.
- Bathrooms: Avoid placing detectors directly above the shower or bathtub; steam can trigger false alarms. A ceiling‑mounted detector 3‑4 feet away from the shower is usually safe.
- Garages: Use a heat detector or a combination smoke/CO detector because car exhaust can cause false alarms in standard smoke alarms.
- Hardwired wiring (most reliable).
- Wireless interconnect (many modern battery‑powered models support this via radio frequency).
- Smart home integration (alarms send push notifications to each other and to your phone).
- New smoke detector (type of your choice)
- Ladder or sturdy step stool
- Screwdriver (Phillips or flat‑head, depending on mounting plate)
- Drill with appropriate bits (if hardwiring)
- Wire stripper (for hardwired models)
- Voltage tester (to confirm power is off)
- Pencil for marking
- Silicone sealant (optional, for outdoor or damp locations)
- Insert the battery (if applicable) – most detectors come with a 10‑year sealed lithium battery that never needs replacement.
- Turn the unit on (usually a simple twist or slide switch).
- Press the “test” button; you should hear a loud, clear alarm for at least 3 seconds. If not, double‑check wiring and battery orientation.
- Hardwired: Connect the interconnect wire (usually a yellow or orange wire) from one detector to the next, following the manufacturer’s wiring diagram.
- Wireless: Follow the manufacturer’s app instructions to pair each unit. Usually, you’ll press a “pair” button on each detector and confirm on the app.
- Standard 9‑V battery models: Replace once a year (or when the low‑battery chirp sounds).
- 10‑year sealed‑battery models: No replacement needed; replace the entire unit after 10 years.
- Monthly test: Press the test button.
- Annual full‑system test: Simulate a smoke condition using a smoke detector test spray (available at hardware stores). This ensures the sensor itself responds, not just the battery.
- Check the manufacture date printed on the back of the unit.
- If the date is older than 10 years, replace the detector immediately.
- For smart detectors, verify that the firmware is up to date; some manufacturers push updates that improve detection algorithms.
- Advantages: Fewer devices to install, unified alerts, often shared battery backup.
- Considerations: Ensure the combined unit meets both UL 2034 (smoke) and UL 2075 (CO) standards.
- Class ABC fire extinguishers on each level (especially kitchen and garage).
- Printed escape routes posted near the front door.
- Annual fire drills with family members, especially if you have children or elderly relatives.
- Many insurance providers offer discounts (up to 5 %) for homes equipped with hardwired, interconnected smoke detectors.
- Most local building codes require at least one smoke alarm per floor and in each sleeping area. Non‑compliance can lead to fines
Considerations before buying:
1. Compatibility – Ensure the detector works with your existing smart hub (Google Home, Amazon Alexa, Apple HomeKit).
2. Subscription fees – Some models require a monthly or annual service plan for cloud storage of alerts.
3. Reliability – Look for devices with a 10‑year sealed battery and a low false‑alarm rate.
Quick win: If you already own a smart thermostat or security system, a smart smoke detector can become a seamless part of your home automation ecosystem, giving you peace of mind even when you’re away.
—
2. Where to Install Smoke Detectors – Placement Rules That Save Lives
2.1 The Golden Rules (According to NFPA 72)
1. One alarm on every level of your home—including the basement and the attic.
2. Inside every sleeping area (bedrooms, nursery, guest rooms).
3. Outside each separate sleeping area (e.g., hallway outside bedrooms).
4. On every floor of a multi‑story home, even the crawl space if it’s finished.
5. In the living room or family room, especially if it’s the main gathering space.
2.2 Height and Distance Guidelines
2.3 Special Areas – Kitchens, Bathrooms, and Garages
2.4 Interconnected Systems – How They Work
When detectors are interconnected, the activation of one alarm triggers all others in the home. This is crucial for large houses or multi‑story dwellings where a fire might start on a lower floor while occupants sleep upstairs.
Ways to interconnect:
DIY tip: If you choose a wireless interconnect system, place the central hub in a location with clear line‑of‑sight to each detector for optimal signal strength.
—
3. Installing Your Smoke Detector – Step‑by‑Step Guide
3.1 Tools and Materials You’ll Need
3.2 Safety First – Turn Off Power
If you’re installing a hardwired detector:
1. Locate the circuit breaker for the area you’ll be working on.
2. Switch it off and verify with a voltage tester that no power is present at the wiring box.
Never work on live wires—if you’re unsure, hire a licensed electrician.
3.3 Mounting the Detector
1. Mark the location on the ceiling or wall according to the height guidelines above.
2. Drill pilot holes for the mounting screws.
3. Attach the mounting plate securely with the supplied screws.
4. For hardwired models, feed the power wires through the mounting plate’s opening, strip about ½ inch of insulation, and connect the black (hot), white (neutral), and green or bare (ground) wires to the corresponding terminals. Tighten the screws firmly.
5. Attach the detector to the mounting plate—most models click into place.
3.4 Powering Up and Testing
Pro tip: After installation, schedule a monthly test and keep a log (a simple spreadsheet or phone reminder) to ensure the alarm stays functional.
3.5 Interconnecting (If Applicable)
Troubleshooting tip: If a wireless detector fails to sync, move it within 30 feet of the hub and repeat the pairing process.
—
4. Maintaining Your Smoke Detectors – Keep the Alarm Ready
4.1 Battery Replacement Schedule
Action: Set a calendar reminder on the month you install the detector and repeat annually.
4.2 Cleaning and Dust Removal
Dust and cobwebs can block the sensor and cause false alarms. To clean:
1. Turn off power (for hardwired units) or remove the battery.
2. Use a soft brush or a vacuum with a brush attachment to gently remove debris from the openings.
3. Wipe the exterior with a dry cloth—never use solvents or spray cleaners inside the detector.
Frequency: Clean each detector once every 6 months.
4.3 Testing Frequency
4.4 Replacing Old Detectors
All smoke detectors have a 10‑year life span. After this period, the sensor’s sensitivity degrades, and the device may fail to detect smoke promptly.
Replacement checklist:
4.5 Dealing with False Alarms
If you experience frequent false alarms:
1. Check placement – move the detector farther from kitchens, bathrooms, or HVAC vents.
2. Upgrade to a photoelectric model – these are less prone to cooking‑related alarms.
3. Adjust sensitivity – some smart detectors let you fine‑tune the sensitivity via the app.
Never disable a detector or remove its battery permanently; doing so can void insurance coverage and put lives at risk.
—
5. Smoke Detectors and the Bigger Picture – Integrating with Overall Fire Safety
5.1 Pairing Smoke Detectors with Carbon Monoxide (CO) Alarms
Carbon monoxide is a silent killer—colorless, odorless, and deadly. Many modern devices combine smoke detection and CO detection in a single unit.
Actionable step: Install a dedicated CO detector near sleeping areas and attached garages, even if you have a combination unit.
5.2 Fire Extinguishers and Escape Plans
A smoke detector is only part of a comprehensive fire safety plan. Complement it with:
Pro tip: Use glow‑in‑the‑dark tape to mark exit paths—visibility remains even if the power goes out.