
—
🎯 Introduction – Why a WiFi Security Camera Is the Smartest Home Upgrade You’ll Make This Year
Imagine you’re on a weekend getaway, sipping coffee in a bustling café, when a notification pops up on your phone: “Motion detected at the front door.” You tap the alert, and instantly a crisp, live‑feed video streams from your living room. In seconds you know whether it’s a friendly neighbor delivering a package or an unwanted intruder.
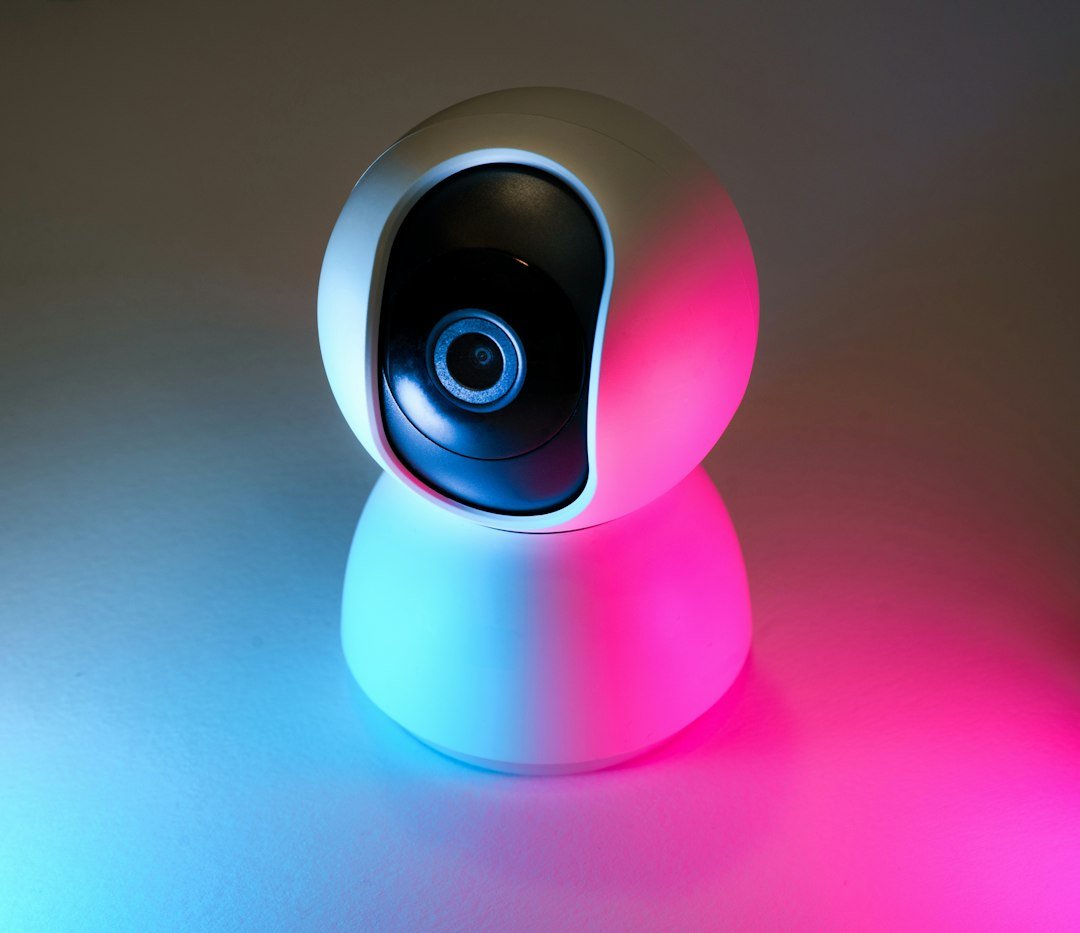
That peace‑of‑mind is exactly what a WiFi security camera (also called a wireless security camera or IP camera) delivers. Unlike old‑school wired CCTV systems that required expensive cabling and a dedicated monitor, modern WiFi cameras plug into your home network and stream to any smartphone, tablet, or PC—anywhere, anytime.
But the market is flooded with options, from budget‑friendly plug‑and‑play units to high‑end models with AI‑powered facial recognition. Without a clear roadmap, you could end up with a camera that’s either over‑engineered for your needs or, worse, insecure and unreliable.
In this 2,000‑word deep‑dive we’ll walk you through:
1. What to look for when buying a WiFi security camera – specs, features, and hidden costs.
2. Step‑by‑step installation and configuration – get your camera up and running in under an hour.
3. Optimizing performance and security – hardening your network, choosing storage, and avoiding common pitfalls.
4. Advanced use‑cases – integrating with smart home ecosystems, using AI motion detection, and leveraging cloud vs. local storage.
5. Maintenance & troubleshooting – keep your camera humming for years.
By the end of this guide you’ll be equipped to select the perfect camera, install it like a pro, and extract the maximum value—whether you’re safeguarding a single front door or building a full‑scale home surveillance system.
—
1️⃣ Buying the Right WiFi Security Camera – Features That Matter
1.1 Resolution & Field of View: See What Matters
| Resolution | Typical Use | Pros | Cons |
|————|————-|——|——|
| 720p (HD) | Basic indoor monitoring | Low bandwidth, cheap | Blurry details, hard to read license plates |
| 1080p (Full HD) | Most home setups | Clear image, good balance | Slightly higher data usage |
| 2K/4K (Quad HD/Ultra HD) | High‑detail outdoor, facial ID | Pin‑sharp details, future‑proof | Requires robust WiFi, more storage |
Actionable tip: For indoor rooms and small yards, 1080p with a 110°–130° field of view (FOV) is usually enough. If you need to capture facial features for identification (e.g., a front‑door camera that works with smart locks), aim for 2K or 4K and a narrower, focused FOV.
1.2 Night Vision Technology
- IR (Infrared) LEDs: Classic black‑and‑white night vision up to 30 m. Good for most yards but can produce a “red‑eye” glow.
- Color Night Vision: Uses built‑in ambient light sensors or additional white LEDs for full‑color footage in low light. Ideal for recognizing clothing colors or vehicle plates.
- Starlight/Full‑Spectrum Sensors: Advanced sensors that amplify tiny amounts of light for clearer grayscale images.
- Cloud storage (subscription‑based): Automatic backup, easy remote access, often includes AI analytics. Beware of recurring fees—$3–$15/month per camera.
- Local microSD/NAS storage: One‑time cost, no monthly fees, but you must manage backups and physical security of the storage device.
- Hybrid: Critical footage saved locally, with optional cloud for alerts and short clips.
- Amazon Alexa (show devices, routines)
- Google Assistant (Nest Hub, voice commands)
- Apple HomeKit Secure Video (iOS‑centric privacy)
- IFTTT (custom automations)
- Bitrate: Lower bitrate reduces bandwidth but can cause pixelation. Set to “Auto” for most homes; manually set to 2–4 Mbps for high‑traffic areas.
- Frame Rate: 15–20 fps is sufficient for most motion detection; bump to 30 fps only if you need smooth playback for fast motion (e.g., sports).
- Resolution: Use the highest resolution your WiFi can sustain without dropping frames.
- Automatic Updates – Enable them in the app.
- Manual Checks – Log into the camera’s web UI (if available) once a month and verify the firmware version.
- Change Default Credentials – Even if the app uses token‑based login, some cameras expose a web interface with “admin/admin” defaults.
- Guest Network – Place cameras on a guest WiFi that has internet access but cannot reach your main LAN devices (e.g., computers, smart locks).
- VLANs – If your router supports VLANs, assign the camera SSID to a separate VLAN with restricted inbound/outbound rules.
- Use WPA3‑Personal wherever possible.
- Enable End‑to‑End Encryption – Some manufacturers (e.g., Eufy, Arlo Ultra) encrypt video streams from camera to cloud. Verify this in settings.
- Two‑Factor Authentication – Protect your cloud account and app login.
- Choose a Provider with GDPR/CCPA compliance if you’re concerned about data sovereignty.
- Set Retention Policies – Delete footage after 30‑90 days unless you need longer archives.
- Encrypt MicroSD – If you store locally, enable the camera’s built‑in encryption (often a simple toggle).
- Tamper Alerts – Many cameras send a notification when the lens is covered or the unit is moved.
Actionable tip: If you want color footage at night (great for facial recognition), prioritize a camera with Starlight or color night vision. Test the night‑vision range in your own lighting conditions before buying.
1.3 Motion Detection & AI Features
| Feature | What It Does | Ideal For |
|———|————–|———–|
| Basic PIR (Passive Infrared) | Detects heat movement | Simple alerts |
| Pixel‑level detection | Detects changes in specific zones | Reducing false alarms |
| Person/Vehicle/Animal detection | AI classifies objects | Tailored alerts |
| Facial recognition | Identifies known faces | Smart locks, guest alerts |
| License‑plate recognition (LPR) | Reads car plates | Driveway monitoring |
Actionable tip: Enable zone‑based motion detection to ignore traffic on the street or pets in the yard. Most modern apps let you draw rectangles on the live view to define “active” zones.
1.4 Connectivity & Power Options
| Power Type | Pros | Cons |
|————|——|——|
| Plug‑in (AC adapter) | Unlimited runtime, stable power | Requires outlet nearby |
| Battery‑powered | Placement flexibility, no cords | Needs regular charging/replacement |
| Solar‑powered | Eco‑friendly, off‑grid | Dependent on sunlight, higher upfront cost |
| PoE (Power over Ethernet) + WiFi bridge | Reliable power + network | More complex setup |
Actionable tip: For indoor cameras, a simple AC adapter is the most reliable. For outdoor units where outlets are scarce, consider a solar‑powered battery model with a high‑capacity rechargeable cell.
1.5 Storage Choices: Cloud vs. Local
Actionable tip: If privacy is a top concern, start with a 128 GB microSD (or larger) and enable encryption. Add a cloud tier only for the most important cameras (e.g., front door).
1.6 Smart Home Compatibility
Look for cameras that integrate with:
Actionable tip: If you already own a smart hub, prioritize a camera that works natively with it to avoid extra bridges or third‑party apps.
1.7 Price vs. Value
| Budget ( $150) |
|—————-|———————-|——————|
| 720p, basic motion, no AI | 1080p, night vision, AI zones | 4K, advanced AI, PoE, HomeKit Secure Video |
| Limited storage (no cloud) | Optional cloud, microSD | Cloud + local, encryption, warranty |
Actionable tip: Allocate ≈ 20 % of your total budget for a reliable subscription (if you need cloud). A $120 camera with a $5/month cloud plan often outperforms a $250 camera with no cloud support.
—
2️⃣ Installing Your WiFi Security Camera – A No‑Stress Walkthrough
2.1 Preparing Your Network
1. Check WiFi Bandwidth
– 2.4 GHz provides better range, but 5 GHz offers higher throughput—ideal for 1080p+ streaming.
– Ensure your router supports 802.11ac or newer; older 802.11n may cause lag.
2. Create a Dedicated SSID (Optional)
– Set up a “Camera‑Network” separate from your main devices to isolate traffic and improve security.
3. Enable WPA3 (or at least WPA2‑AES)
– Never use WEP or WPA‑TKIP; they’re trivially breakable.
4. Reserve a Static IP (Recommended)
– In your router’s DHCP settings, bind the camera’s MAC address to a fixed IP (e.g., 192.168.1.150). This prevents the camera’s address from changing after a reboot.
Actionable tip: Run a speed test on the intended WiFi spot. Aim for at least 5 Mbps upload for 1080p streaming; 10 Mbps+ for 4K.
2.2 Physical Placement & Mounting
| Camera Location | Ideal Height | Mounting Tips |
|—————–|————–|—————|
| Front Door | 7–8 ft (2.1–2.4 m) | Angle downward 15°–30°; avoid direct sunlight |
| Backyard | 10–12 ft (3–3.5 m) | Use a weather‑proof pole; ensure rain shield |
| Indoors (Living Room) | 6–7 ft (1.8–2.1 m) | Place near power outlet; avoid reflective surfaces |
Step‑by‑step:
1. Mark the Spot – Use a pencil and level to ensure the camera sits straight.
2. Drill Pilot Holes – For brick or concrete, use a masonry bit; for wood, a standard drill works.
3. Attach the Mounting Bracket – Secure with stainless‑steel screws (provided). Tighten but don’t overtighten to avoid cracking the bracket.
4. Mount the Camera – Snap it onto the bracket; adjust tilt before tightening the final lock.
5. Power Up – Plug the AC adapter or attach the solar panel. Wait for the LED to indicate “online” (usually a solid blue or green).
2.3 Initial App Setup
1. Download the Manufacturer’s App (e.g., Arlo, Ring, Reolink, Eufy).
2. Create an Account – Use a strong, unique password and enable 2‑Factor Authentication (2FA).
3. Add a New Device – Follow the QR‑code or “Add Device” wizard. Most cameras broadcast a temporary WiFi network (e.g., “Cam‑Setup-XXXX”). Connect your phone to it, then select your home WiFi and enter the password.
4. Firmware Update – The first launch will often prompt a firmware upgrade. Install it immediately; it patches security holes and adds features.
5. Configure Basic Settings –
– Set motion zones
– Choose recording schedule (continuous vs. event‑based)
– Select storage option (cloud vs. microSD)
– Enable notifications (push, email, SMS)
Actionable tip: Turn on “Do Not Disturb” during night hours if you don’t want constant alerts from pets or passing cars.
2.4 Fine‑Tuning Video Quality
Actionable tip: Run a 30‑second test recording after initial setup. Review the video on a mobile device and a desktop to ensure clarity and smoothness.
—
3️⃣ Securing Your WiFi Security Camera – Keep Hackers Out
3.1 Harden the Camera Firmware
3.2 Network Segmentation
Actionable tip: Block UPnP on the camera’s VLAN. UPnP can be exploited to open ports without your knowledge.