
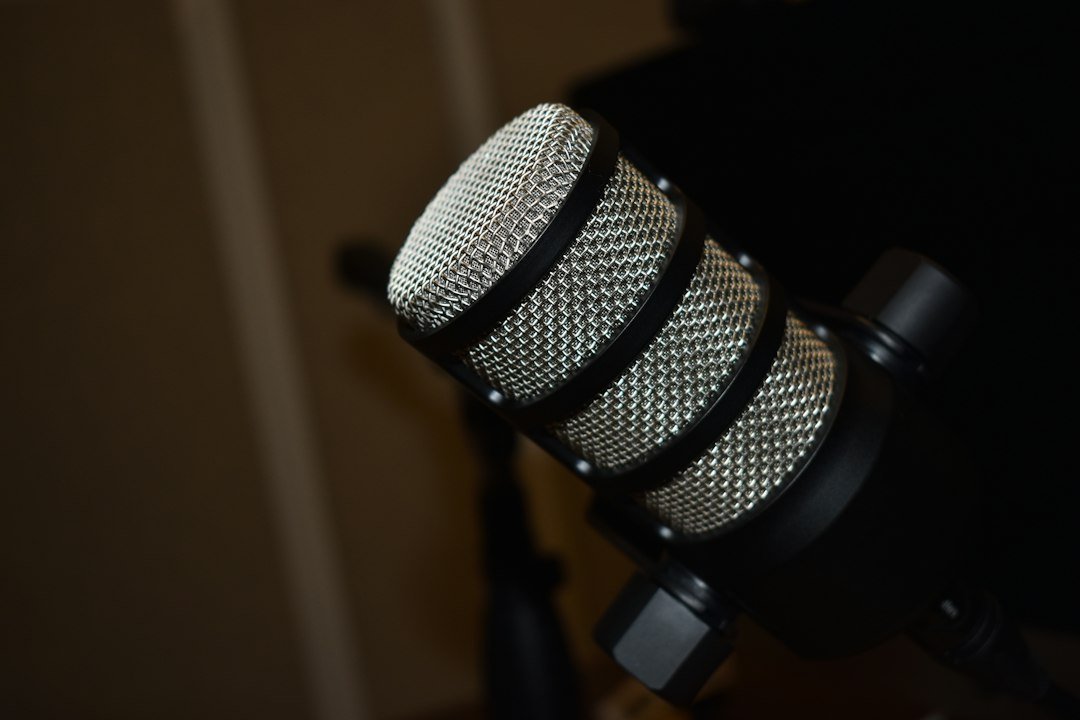
—
🎤 Introduction – Why Every Voice Needs a Pop Filter
You’ve spent hours perfecting your lyrics, rehearsing your podcast script, or fine‑tuning that voice‑over for a YouTube tutorial. You’ve invested in a solid condenser microphone, acoustic treatment, and maybe even a pricey audio interface. Yet, when you hit “record,” the playback is riddled with those annoying p‑b‑t bursts that sound like a miniature explosion every time you say “pop,” “bake,” or “talk.”
If that scenario feels all too familiar, you’ve already met the enemy: plosive sounds. The good news? The solution is often as simple as a pop filter.
In this comprehensive, 2,000‑word guide we’ll unpack everything you need to know about pop filters—what they are, why they matter, the different types on the market, how to set one up like a pro, and even how to keep it in tip‑top shape. By the end, you’ll be able to pick the perfect pop filter for your setup, install it in seconds, and finally capture crystal‑clear vocal recordings without the distracting “popping” noises. Let’s dive in!
—
1️⃣ What Is a Pop Filter and Why It’s a Must‑Have for Any Vocalist
1.1 The Science Behind the Pop
When you pronounce consonants such as P, B, T, D, K, and G, a burst of air—known as a plosive—is expelled from your mouth. In a dry, untreated recording environment, that burst hits the microphone diaphragm directly, causing a sudden pressure spike. The result is a low‑frequency thump, distortion, or clipping that can make even the most polished performance sound amateurish.
A pop filter (also called a windscreen or microphone screen) acts as a physical barrier between your mouth and the mic capsule. It diffuses the fast‑moving air particles, smoothing out the pressure wave before it reaches the diaphragm while allowing the sound’s frequency content to pass through largely unchanged.
1.2 Benefits Beyond “Popping”
| Benefit | How It Helps Your Audio |
|———|————————|
| Reduces Plosives | Eliminates harsh bursts that cause clipping |
| Protects the Diaphragm | Prevents moisture and saliva buildup, extending mic life |
| Improves Consistency | Maintains even vocal levels across different words and phrases |
| Adds Professionalism | Gives recordings a studio‑grade polish that listeners notice |
| Easy to Use | Quick clip‑on design means no complicated setup |
Even if you’re a beginner recording in a bedroom or a seasoned podcaster using a high‑end studio, a pop filter is a low‑cost, high‑impact upgrade that pays for itself instantly.
1.3 When Do You Really Need One?
- Home Studios & Podcasting: Most creators start with a USB or XLR mic; a pop filter is the next logical step.
- Voice‑Over Work: Clear, articulate speech is non‑negotiable—plosives can ruin a client’s project.
- Singing & Music Production: Pop filters keep vocal tracks clean, reducing the need for aggressive EQ or de‑essing later.
- Live Streaming & Gaming: Even in real‑time, a pop filter prevents sudden spikes that could cause audio clipping on stream.
- Affordability: Most budget‑friendly options fall into this category, often under $20.
- Transparency: The mesh allows a high percentage of the audio signal to pass through with minimal coloration.
- Flexibility: Easy to bend or fold for storage.
- Durability: Over time, the mesh can stretch or develop tiny holes, especially if you constantly adjust the mic distance.
- Static Build‑up: Nylon can attract static electricity, which may cause faint pops in very quiet recordings.
- Longevity: Metal screens are virtually indestructible—no stretching or tearing.
- Clarity: Metal screens can be slightly denser, which sometimes yields a cleaner high‑frequency response.
- Aesthetic: Sleek, professional look that matches high‑end studio gear.
- Cost: Usually $30‑$80, depending on brand and size.
- Weight: Heavier frames may require a sturdier mic stand or boom arm.
- Compact: No external frame; it’s a “pop filter” that stays attached to the mic.
- Multi‑Purpose: Works well for both plosives and wind noise (great for outdoor recordings).
- High‑Frequency Attenuation: Foam can slightly dampen crisp highs, making vocals sound “muffled.”
- Maintenance: Foam absorbs moisture and can become a breeding ground for mold if not cleaned regularly.
- Maximum Plosive Reduction: The extra layer provides additional diffusion of air bursts.
- Versatility: Some models allow you to swap layers (mesh vs. metal) depending on your needs.
- Increased Visibility: Double layers can appear bulkier on camera.
- Potential Slight Tone Dullness: More material may affect the highest frequencies, though most users find the trade‑off negligible.
- 6‑8 inches: Ideal for podcasting mics (e.g., Audio‑Technica ATR2100, Rode NT‑USB).
- 9‑10 inches: Works well for most vocal recording mics (e.g., Shure SM7B, Rode NT1‑A).
- 12 inches or larger: Best for large‑diaphragm condensers and vocal booths where the singer may move around.
- Standard Distance: 2–4 inches (5–10 cm) from the microphone capsule.
- Why it matters: Too close and the filter can cause a “hollow” sound; too far and you lose the plosive‑blocking benefit.
- Angle: Position the filter so that the airflow from your mouth hits the screen at a slight angle (about 45°). This deflects the air away from the mic while preserving direct sound.
- Height: Align the filter’s center with the mic’s diaphragm. Most microphones have a small “sweet spot”—when you speak directly into it, the voice sounds balanced.
- Spot Clean: Use a dry cloth to blot away saliva.
- Deep Clean (monthly): Soak in a shallow bowl of warm water with a tiny amount of gentle detergent for 5 minutes. Rinse thoroughly and let air‑dry completely before re‑attaching.
If any of those scenarios describe you, keep reading—your future self will thank you.
—
2️⃣ Types of Pop Filters: Picking the Perfect One for Your Setup
Not all pop filters are created equal. The market offers a range of designs, materials, and mounting options. Below we break down the most common types, their pros and cons, and the ideal use‑case for each.
2.1 Mesh (Nylon) Pop Filters
What they are: A circular or rectangular frame stretched with a fine nylon mesh (typically 1‑2 mm pores).
Why they’re popular:
Best for: Beginners, podcasters, and home‑studio vocalists who need a reliable, low‑maintenance solution.
Potential drawbacks:
2.2 Metal (Stainless Steel) Pop Filters
What they are: A sturdy metal frame with a fine metal screen (often stainless steel or brass).
Why they’re premium:
Best for: Professional studios, vocalists who frequently move the mic, or anyone looking for a “set‑and‑forget” filter.
Potential drawbacks:
2.3 Foam Windscreens
What they are: A cylindrical piece of acoustic foam that slides over the microphone’s grille.
Why they’re convenient:
Best for: Field recordists, vloggers, and streamers who need a portable solution.
Potential drawbacks:
2.4 Hybrid/Double‑Layer Filters
What they are: Two layers of mesh or a combination of mesh and metal placed back‑to‑back.
Why they’re effective:
Best for: Heavy‑plosive speakers, vocal coaches, or anyone who wants the ultimate protection without sacrificing tone.
Potential drawbacks:
2.5 Choosing the Right Size
Pop filters come in diameters ranging from 6 inches (small desktop mics) to 12 inches (large studio condensers). A good rule of thumb:
If you’re unsure, opt for a adjustable clamp that can accommodate a range of sizes—most quality pop filters include this feature.
—
3️⃣ How to Set Up and Use a Pop Filter for Optimal Results
A pop filter is only as good as its placement. Below is a step‑by‑step guide that takes you from “box of parts” to “studio‑ready” in under a minute.
3.1 Mounting the Filter
1. Choose a Stable Stand or Boom Arm
– Most pop filters feature a C‑shaped clamp that slides onto a standard 5/8‑inch mic stand thread.
– If you use a boom arm, ensure the clamp can lock onto the arm’s tube without slipping.
2. Position the Clamp
– Slide the clamp onto the stand/arm and tighten the knob until it’s snug but not over‑tightened (you don’t want to strip the threads).
3. Attach the Filter Frame
– For mesh or metal filters, the frame usually snaps into the clamp’s slot.
– For foam windscreens, simply slide the foam over the mic’s grille—no clamp needed.
3.2 Ideal Distance from the Microphone
Pro tip: Use a small piece of tape or a sticky note on the mic stand as a visual cue for the perfect distance. Adjust as needed based on your vocal intensity.
3.3 Aligning with Your Mouth
3.4 Testing Your Setup
1. Record a Test Phrase
– Say a line that includes multiple plosives, e.g., “Peter Piper picked a peck of pickled peppers.”
2. Playback and Analyze
– Listen for any “popping” or “thumping.” If you still hear harsh spikes, try moving the filter 1‑2 inches closer to the mic or adjust the angle.
3. Fine‑Tune the Mic Gain
– A pop filter reduces the initial air pressure, which can make your signal slightly quieter. Increase the mic preamp gain by 2–4 dB if needed, but avoid clipping.
3.5 Using Pop Filters in Different Recording Scenarios
| Scenario | Recommended Filter Type | Placement Tips |
|———-|————————|—————-|
| Podcasting (sit‑down) | Mesh (6‑8 in) | Clamp to desk stand, 3 in away, angled slightly up |
| Singing (standing, vocal booth) | Metal (9‑10 in) or double‑layer | Attach to boom arm, 2.5 in from mic, center‑aligned |
| Live Streaming (desk mount) | Foam windscreen (if space limited) | Slide over mic, keep 1 in gap with face |
| Field Interviews (on‑the‑go) | Compact foam windscreen + portable mesh filter | Use a mini‑clip‑on mesh attached to a portable stand |
—
4️⃣ Maintenance, Troubleshooting, and Pro Tips
A pop filter can last years if you treat it right. Below are actionable steps to keep your filter in prime condition, plus some advanced tricks used by audio engineers.
4.1 Cleaning Your Pop Filter
Mesh or Metal Screens:
1. Gentle Brush: Use a soft paintbrush or makeup brush to sweep away dust.
2. Mild Soap Solution: Dampen a microfiber cloth with warm, soapy water (a drop of dish soap). Wipe the surface, then dry immediately with another clean cloth.
3. Avoid Harsh Chemicals: No alcohol, bleach, or abrasive cleaners—they can degrade the mesh or metal coating.
Foam Windscreens:
4.2 Common Issues & Quick Fixes
| Issue | Symptom | Fix |
|——-|———|—–|
| Static Crackle | Tiny popping noises during quiet passages | Lightly dampen a cloth and wipe the mesh to reduce static; consider a humidifier in dry rooms |
| Screen Sagging | Filter droops, causing uneven distance | Tighten the clamp screws; replace stretched mesh with a new one |
| Moisture Build‑Up | Muffled sound, occasional “wet” pops | Clean foam windscreen; replace if mold appears |
| Plosives Still Present | Loud “p” or “b” bursts despite filter | Move filter 0.5‑1