
—
🎬 Introduction – Why the Webcam Is the Unsung Hero of Modern Life
Imagine trying to land a remote job interview, host a virtual birthday party, or stream your first “Let’s Play” video without a reliable webcam. The picture is blurry, the lighting is off, and you’re left wondering why nobody can see you clearly. In 2024, a high‑quality webcam is no longer a luxury—it’s a work‑essential, a social‑connector, and a creative tool rolled into one compact device.
Whether you’re a remote professional, a content creator, a gamer, or just someone who wants to stay in touch with family, the right webcam can make the difference between “just okay” and “wow, that’s professional.” This guide walks you through everything you need to know—from the tech behind the lens to the best models for every budget, plus step‑by‑step setup tips that will have you looking sharp on camera in minutes.
Grab a cup of coffee, settle in, and let’s dive into the world of webcams. By the end, you’ll be ready to pick, install, and master a camera that makes you look as good as you sound.
—
1️⃣ Understanding Webcam Technology – What’s Inside the Box?
Before you start comparing “1080p vs 4K” or “USB‑C vs USB‑A,” it helps to know the core components that determine a webcam’s performance. Knowing the tech jargon will also make you a smarter buyer and a more confident user.
1.1 Sensor Size & Type
- CMOS vs CCD – Most modern webcams use CMOS sensors because they’re energy‑efficient and deliver excellent low‑light performance. CCDs are rare in consumer models but still appear in some high‑end industrial cameras.
- Sensor size (e.g., 1/2.8″, 1/1.8″) – Larger sensors capture more light, resulting in better detail and less noise, especially in dim rooms. If you stream from a bedroom with a single lamp, aim for at least a 1/2.8″ sensor.
- 1080p (Full HD) @ 30 fps – The baseline for professional video calls and casual streaming.
- 1080p @ 60 fps – Smoother motion, ideal for fast‑paced gaming or sports analysis.
- 4K @ 30 fps – Ultra‑sharp for high‑budget productions, but requires a strong USB‑3.0/USB‑C connection and a powerful computer.
- Narrow (60–70°) – Perfect for solo streaming or one‑on‑one video calls; reduces background clutter.
- Standard (78–90°) – The sweet spot for most users; captures you and a modest background.
- Wide (110–130°) – Great for group calls, tabletop demos, or showing a full‑room setup.
- Autofocus continuously adjusts to keep you sharp, even when you move around.
- Fixed focus is cheaper but can become soft if you’re too far or too close. Look for “auto‑focus” in product specs if you plan on moving during streams.
- USB‑A (3.0) – Most universal, works on older laptops.
- USB‑C (3.1/3.2) – Faster data transfer, future‑proof, and can deliver power to the camera.
- Thunderbolt 3/4 – Rare, but found on premium models for ultra‑low latency.
- Three‑point lighting (key, fill, back) is the gold standard. For a budget setup, a single ring light or softbox placed at 45° above and slightly to the side works wonders.
- Avoid mixed color temperatures (e.g., fluorescent ceiling + warm lamp). Stick to either daylight‑balanced (5600 K) or warm (3200 K) lighting.
- DIY diffuser: Tape a white sheet of paper or a frosted shower curtain over a desk lamp to soften harsh shadows.
- USB 3.0 is recommended for 4K or 1080p @ 60 fps. A USB‑2.0 port will bottleneck the stream, causing frame drops.
- Close background apps that use the webcam (e.g., video editors, other conferencing tools).
- Set your streaming software to a bitrate that matches your internet upload speed—generally 4,500 kbps for 1080p @ 60 fps, 6,000 kbps for 4K.
- Goal: Appear professional, stay focused, minimize distractions.
- Setup: 1080p webcam, neutral background (or virtual background if your platform supports it), soft front lighting, and a privacy shutter when not in use.
- Actionable tip: Use the “blur background” feature in Microsoft Teams or Zoom to hide clutter without buying a green screen.
- Goal: Deliver smooth, high‑quality video that matches your gameplay or art.
- Setup: 1080
1.2 Resolution & Frame Rate
1.3 Field of View (FOV)
1.4 Autofocus vs Fixed Focus
1.5 Built‑In Microphones
A good webcam often includes stereo mics with noise‑cancellation. While external microphones still win for podcast quality, a solid built‑in mic can save desk space and eliminate the need for a separate audio interface for casual meetings.
1.6 Connectivity
> Pro tip: If you’re planning a multi‑camera setup (e.g., a main webcam + a DSLR), make sure your computer has enough USB‑3.0 ports and enough bandwidth to handle simultaneous streams.
—
2️⃣ Choosing the Right Webcam for Your Needs – A Buying Checklist
Now that you understand the specs, let’s translate them into real‑world decisions. Below is a quick‑reference checklist you can print out and bring to the store (or keep on your phone while you browse online).
| Use‑Case | Recommended Resolution | Ideal FOV | Must‑Have Features | Budget Range |
|———-|————————|———–|——————–|————–|
| Professional video‑conferencing (Zoom, Teams) | 1080p @ 30 fps | 78–90° | Autofocus, HDR, privacy shutter | $70‑$130 |
| Live streaming on Twitch/YouTube | 1080p @ 60 fps or 4K @ 30 fps | 78–110° (adjustable) | High frame rate, clean HDMI output (optional), low‑light performance | $120‑$250 |
| Gaming & e‑sports | 1080p @ 60 fps (or 4K) | 78–130° (wide) | High refresh rate, built‑in ring light, background removal software | $130‑$300 |
| Home schooling / online tutoring | 1080p @ 30 fps | 90–110° | Autofocus, dual microphones, easy plug‑and‑play | $80‑$150 |
| Content creation (DIY tutorials, unboxings) | 4K @ 30 fps | Adjustable 70–130° | Swappable lens, external mic input, tripod mount | $180‑$400 |
2.1 Top Picks for 2024 (All Budgets)
| Model | Key Specs | Best For | Price (USD) |
|——-|———–|———-|————-|
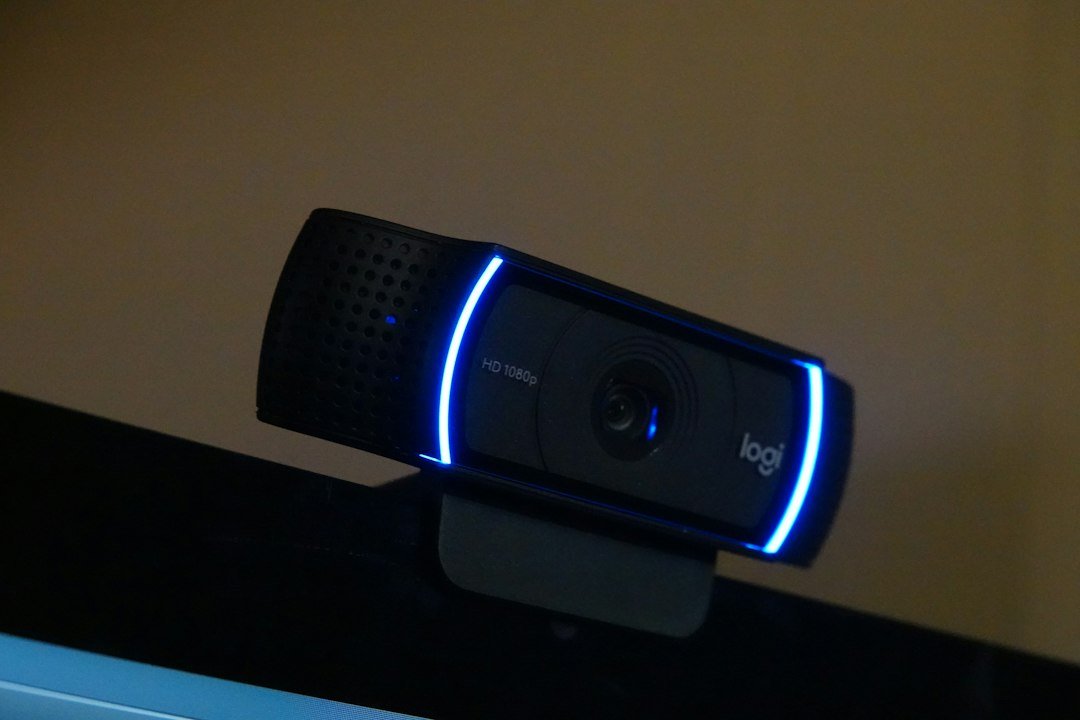
| Logitech C920s HD Pro | 1080p @30 fps, 78° FOV, autofocus, privacy shutter | Video calls, entry‑level streaming | $70 |
| Logitech StreamCam | 1080p @60 fps, 78° FOV, USB‑C, AI auto‑framing | Streamers, creators on the go | $170 |
| Razer Kiyo | 1080p @30 fps, built‑in ring light, 81° FOV | Low‑light streaming, gamers | $100 |
| Microsoft LifeCam Studio | 1080p @30 fps, 75° FOV, TrueColor tech | Business & education | $80 |
| Elgato Facecam | 1080p @60 fps, Sony STARVIS sensor, 82° FOV, fixed focus | Professional streamers, podcasters | $200 |
| Logitech Brio 4K | 4K @30 fps, HDR, 90° FOV, 5× digital zoom | High‑end video production, corporate HQ | $250 |
| AverMedia Live Streamer CAM 513 | 4K @30 fps, 94° FOV, USB‑C, AI auto‑framing | Multi‑camera setups, creators | $300 |
| Creative Live! Cam Sync 4K | 4K @30 fps, 94° FOV, built‑in stereo mics | Budget‑friendly 4K | $150 |
> Quick tip: If you’re unsure, start with a mid‑range model like the Logitech StreamCam or Elgato Facecam. They give you a solid performance baseline without the steep learning curve of 4K rigs.
2.2 Compatibility Checklist
| Platform | Windows | macOS | ChromeOS | Linux |
|———-|———|——-|———-|——-|
| Logitech C920s | ✅ | ✅ | ✅ | ✅ |
| Logitech StreamCam | ✅ | ✅ | ✅ | ✅ |
| Razer Kiyo | ✅ | ✅ | ✅ | ✅ |
| Elgato Facecam | ✅ | ✅ | ❌ (requires Windows) | ✅ (via OBS) |
| Logitech Brio | ✅ | ✅ | ✅ | ✅ |
If you work on a MacBook or a Linux workstation, double‑check the driver support before you click “Buy.”
—
3️⃣ Setting Up and Optimizing Your Webcam – From Box to Broadcast‑Ready
A great webcam is only as good as its configuration. Follow these step‑by‑step instructions to get a crystal‑clear picture and crisp audio in minutes.
3.1 Physical Placement
| Position | Why It Works | Common Mistake |
|———-|————–|—————-|
| Eye‑level | Keeps your face centered, avoids unflattering angles | Placing too low creates a “worm’s‑eye” look |
| 2‑3 ft from the screen | Prevents glare on the monitor and reduces facial distortion | Too close leads to wide‑angle distortion |
| 45° angle to window | Reduces back‑lighting while still using natural light | Facing directly into a bright window washes you out |
Pro tip: Use a small tripod, a flexible gooseneck, or the webcam’s clip on the top of your monitor. If you’re on a laptop, a laptop stand combined with a USB‑C hub clears desk space and lets you angle the camera precisely.
3.2 Lighting – The Secret Sauce
3.3 Software Tweaks
| Software | Platform | Key Settings |
|———-|———-|————–|
| Logitech Capture | Windows/macOS | Adjust exposure, white balance, and frame rate; add overlays. |
| OBS Studio | All | Use “Video Capture Device” filter → “Configure Video” → set resolution & FPS; add “Color Correction” filter for sharpness. |
| Snap Camera | Windows/macOS | Fun lenses, but can add latency—disable for professional calls. |
| Zoom/Teams/Google Meet | All | In video settings, select “HD” (if available) and enable “Touch up my appearance” sparingly. |
Actionable tip: Turn off “auto‑exposure” in your webcam’s software and manually set exposure to a fixed value. This prevents the picture from flickering when you move between bright and dark areas.
3.4 Audio Optimization
Even though many webcams have decent mics, you can boost audio quality with a few tweaks:
1. Enable noise‑cancellation in the webcam’s app (e.g., Logitech Capture).
2. Position the webcam about 6‑8 inches from your mouth; too close will cause distortion, too far will pick up room echo.
3. Consider a lapel mic or USB‑mic for podcasts; plug it into the same computer and select it as the primary audio device in Zoom/OBS.
3.5 Bandwidth & Performance
—
4️⃣ Real‑World Use Cases – How to Leverage Your Webcam for Different Goals
A webcam is a versatile tool. Below are the most common scenarios and how to tailor your setup for each.